http://www.artsthread.com/p/annabelrosemichie/
Online portfolio all up and ready to go!
Friday 31 May 2013
Saturday 25 May 2013
Digital Prints are back!!

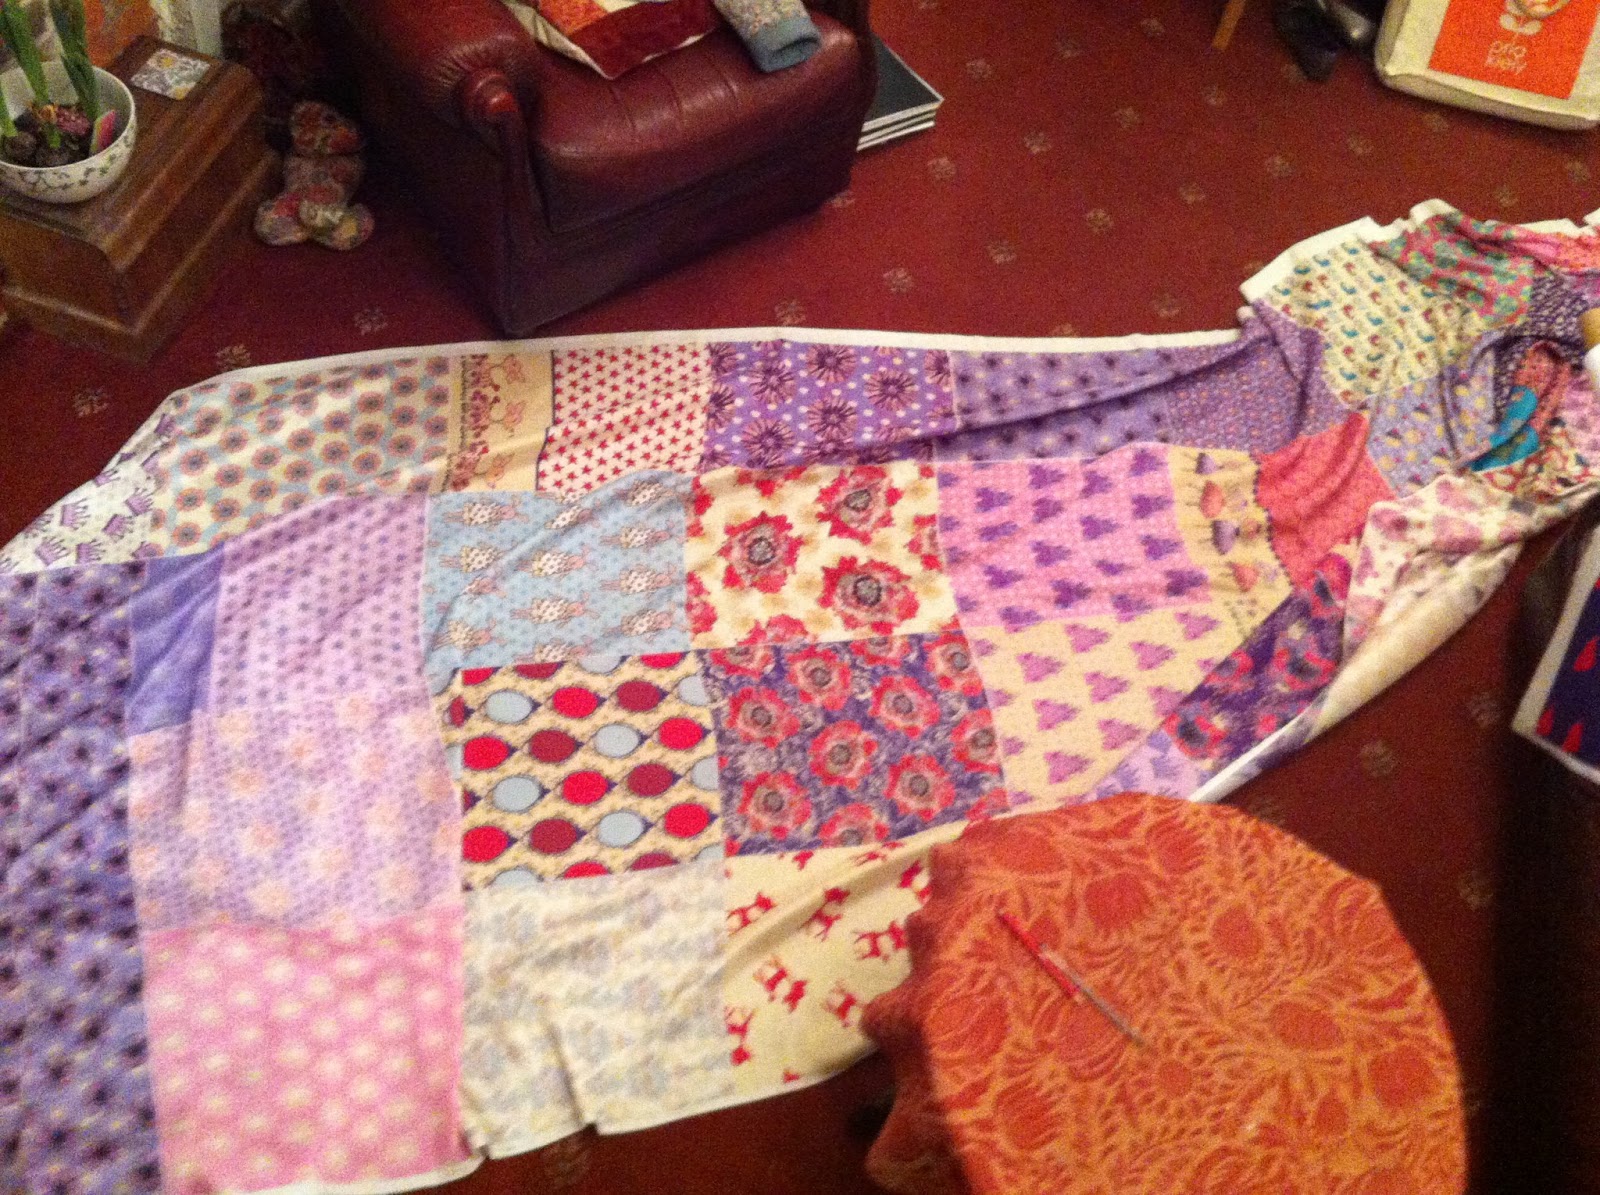
I didn't have enough floor space to photograph it all at once so apologies for the awful pictures!

Lycra for leggings!!
Can't wait to turn all this fabric into my collection..including fabric fronts not just dresses!
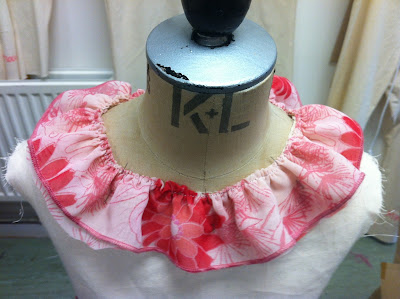
Toiling Snow White Dress
All of my dresses are quite simple designs made up of layers of ruffles and strips of fabric all gathered up to create full skirts for the party dresses. However, as I have got quite a bit of construction experience I thought that I would show off some of it! In the second year of my degree I took some fashion construction evening classes which really helped boost my confidence in construction. As well as learning the basics and the intermediate level, I also learnt the TR pattern cutting skill that has been created by Shingo Sato. This was more tricky for me to get my head around, but there was one technique that I mastered and loved doing. The 'twisted heart' technique!
I really wanted to put a little bit of the TR pattern cutting into my collection to show it off! So I chose this twisted heart. I thought it would work really well within the Snow White outfit, on the bodice of the dress.
Here is my toile of it:

I really wanted to put a little bit of the TR pattern cutting into my collection to show it off! So I chose this twisted heart. I thought it would work really well within the Snow White outfit, on the bodice of the dress.
Here is my toile of it:

I am really happy with the outcome and will definitely be using this technique on the dress!
Digital Prints - Snow White and Hansel and Gretel
Continuing on from my previous post - here are some examples of my digital print work.
Snow White Designs:


Snow White Designs:

This is an acrylic paint designs of a rose. I added hints of colour in such as lime green to make the design look fresh and unique. As well as glitter for the sparkle! I then scanned the rose in and the result on screen looked better than in the sketchbook.


The rose print used in a border print design of deer. The deer are quite graphic unlike my other designs.

To create this design, I actually printed with the head of a rose. It created a gorgeous print which I also scanned into Photoshop and developed.
Hansel and Gretel Designs:
These designs are a lot more graphic than my other ones. I worked with the designs differently to create more simple prints.


These circles are filled with a hand painted image that I scanned in. It was originally a flower but I cut a circle of print out of the flower and that is what gave me the circles.

Overall this digital printing process has been a huge task for me to do in the little time I have had. I have never produced so many prints in such a small amount of time. It has now been sent off to the 'Silk Bureau' and I will await the day until it arrives back!
Digital Prints - Cinderella and Elves and Shoemaker
It has been very tricky trying to balance my time between hand print making, digital print design and fashion construction. My main priority is at the beginning is to get the digital printing done so it can be sent off to the 'Silk Bureau' who will print my designs onto my fabric.
Here are some of my digital prints that have developed from my sketchbook into photoshop:
Cinderella designs..


Here are some of my digital prints that have developed from my sketchbook into photoshop:

Pastel drawing of a mouse wearing a dress. A simple line drawing is placed over the top in photoshop which helps to create a hand painted feel to the design.


I created this carriage by using cotton reels to print with and buttons. The cotton reel prints create harsh thick lines as well as small graphic dotty lines. I collaged it together in photoshop to create the body of the carriage.

I then added the horses to the carriage.
Elves and the shoemaker designs:

To create the elf I did a rough pastel drawing of the body and dress. Then a linear version. Scanned both in to photo shop and placed one on top of the other.

The elves in a border print

I drew the cotton reels using a fine line pen and then filled in with colour on photoshop. It is important for me to show a contrast between the graphic photoshop designs such as this one and the hand painted photoshop designs such as the elves.

Professional Photo!
This is my shot from David Lam.
I am really pleased with it! The overall look is magical and really fits in with the fairytale theme.

I am really pleased with it! The overall look is magical and really fits in with the fairytale theme.

First Professional Picture
The day arrived for the photoshoot. I chose to have my Sleeping Beauty Dress photographed with my little model Rosie wearing it. I created hair bands and magic wand accessories for Rosie to wear and hold as well. This created a more magical feeling within the shoot and gave Rosie something to play around with in case she was nervous. I also created a pop up castle that would be photographed too and then photoshopped into the background to create a fairytale image!
Rosie having her hair curled for the shoot!


Rosie having her hair curled for the shoot!

Fixing the hair accessory into place!

Rosie wearing the Sleeping Beauty Outfit!

In the studio getting ready!

The photoshoot went really well, Rosie had a great time modelling and loved wearing the dress. Can't wait to see the final shot..
Photographer: David Lam
Model: Rosie Ashworth
Hair: Kim from 'Feathers'
Location: Colchester School of Art
Sleeping Beauty and Snow Queen Dresses
These are two out of the six dresses for the collection. Nearly ready for the first photo shoot..just need to add the finishing touches!


Friday 3 May 2013
Toiling Snow Queen Dress
Whilst I was toiling the Sleeping Beauty dress, I thought that I would toile the Snow Queen one as well. They are a similar design, apart from the amount of skirt ruffles and this dress also has sheer sleeves.


I made the dress up in the same way as before, but added a third ruffled layer to the skirt. Once on the mannequin it just did not look right. It looked too formal for a 5-6 year old, I think the length of the skirt should be where the middle layer is.

I added the ruffle neckline strip to the bodice to see what that would look like as well as pinning up each of the three ruffled layers. The skirt still looked odd, but the neckline looks nice. However I think I am going to keep this neckline ruffle free so it looks different to the Sleeping Beauty dress.

I created another skirt toile using shorter length ruffles, two of them would be made from silk and the top ruffle would be sheer.

Looked better on the stand already

I added the sheer sleeves to the bodice and the attached the skirt to the bodice too. The overall effect looks really good.

Added the sample belt with the trimming and tied a bow at the back. I am really pleased with this toile.

Toiling Sleeping Beauty Party Dress
I did the toile of this party dress, the design is a sleeveless party dress with a fitted bodice and a flared skirt. The dress will have a big underskirt to create volume and give the dress a real 'party feel'.


Starting the bodice of the dress..

Ruffling the two layers of the skirt..

Created a sheer, lightweight ruffle to go around the neckline of the dress. Really pleased with how it turned out.

I attached the bodice to the skirt and then added a sash around the waist to see how the whole effect would look. I really like the style of this dress, but I think that the length of the dress needs to be shortened a little.
Line up for the final collection..

This is my intial line up of my collection. It features 6 party dresses, 6 leggings and 3 capes.
These designs may change due to any toiling problems I may have.
Digital Print Design for Sleeping Beauty
From Sketchbook to Photoshop...
This is some of my artwork that I have created in my sketchbook and I am going to develop it in Photoshop to create some digital print designs for my dresses.


This is some of my artwork that I have created in my sketchbook and I am going to develop it in Photoshop to create some digital print designs for my dresses.

Inspired by a trimming I bought in Walthamstow, did some linear drawings and developed them in Photoshop. This was the result:


Painted flower using acrylics,


Experimenting with different colour ways and scale of print..

I wanted to create another fairy character for my Sleeping Beauty collection. This is the fairy I have designed, quite quirky but friendly looking which is the most important thing.


Developed it into a border print which would be on the skirt of the dress.
Subscribe to:
Posts (Atom)